


Installing solar panels is one of the best ways to increase your home’s efficiency and reduce long-term energy costs. But before your panels go up, your roof needs to be ready to handle the load safely and effectively.
A strong, well-prepared roof ensures your solar system performs efficiently and lasts for decades. Here’s a guide to help Texas homeowners understand how to prepare their roof for solar panel installation the right way.
1. Schedule a Professional Roof Inspection
Before anything else, your roof should be professionally inspected to confirm it can support the added weight of solar panels.
A licensed inspector will check for:
- Weak or damaged shingles
- Leaks or water intrusion
- Structural issues or soft spots
- Roof age and material condition
If your roof is nearing the end of its lifespan (15–20 years), it’s best to replace it before installing panels.
2. Repair or Replace as Needed
Installing panels on a damaged or aging roof can lead to leaks and additional costs later. If repairs are necessary, handle them before installation.
A new or recently repaired roof provides a sturdy, watertight base for your solar system — ensuring long-term protection and performance.
3. Check Roof Orientation and Angle
In Texas, roofs facing south typically receive the most sunlight. However, east- and west-facing roofs can also produce excellent results depending on pitch and exposure.
Your solar provider will assess your roof’s orientation and slope to maximize efficiency and energy capture throughout the year.
4. Clear Debris and Overhanging Branches
Shade from trees or debris can reduce your system’s energy production. Trim back branches that may hang over your roof or block sunlight.
Clearing the area ensures your panels receive full sun and stay free from falling leaves or twigs that could cause buildup.
5. Verify Structural Load Capacity
Solar panels and mounting systems add weight to your roof. Before installation, technicians will calculate your roof’s load capacity to ensure it can handle the extra weight safely.
This step helps prevent sagging or structural strain, especially in older homes.
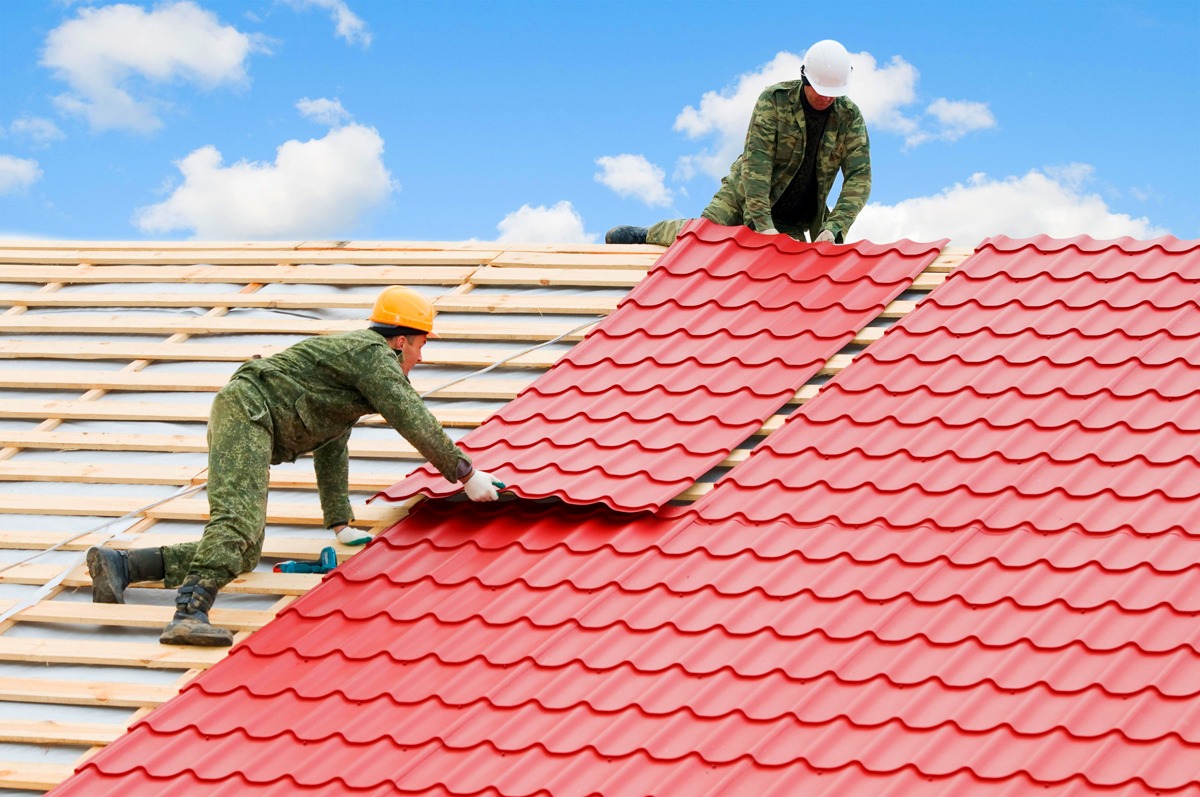
6. Confirm Roofing Material Compatibility
Different roofing materials require different mounting techniques. For example:
- Asphalt shingles – Easy to install with minimal modification.
- Tile roofs – Require specialized mounting systems.
- Metal roofs – Typically ideal for solar due to built-in seams.
Your solar provider will choose mounting hardware that’s safe and compatible with your roofing type.
7. Review Your Roof Warranty
Check your roofing warranty before installation to confirm solar mounting won’t void coverage. Many warranties remain valid as long as installation is performed by licensed professionals following manufacturer guidelines.
Having both your roof and solar systems professionally installed ensures all warranties stay intact.
8. Inspect for Proper Ventilation
Roof ventilation impacts both your home’s comfort and solar efficiency. A properly ventilated attic helps reduce heat buildup, keeping both your roof and solar panels cooler — and improving energy output.
9. Plan for Future Roof Maintenance
Solar panels last 25+ years, but roofs may not. Before installation, discuss a long-term maintenance plan with your solar company to ensure panels can be easily detached and reset if future roofing work is needed.
This proactive planning saves time and protects your investment down the road.
10. Choose a Licensed Solar Electrician
Working with a licensed solar electrician ensures all electrical connections meet Texas safety codes. Licensed professionals handle everything from secure mounting to electrical grounding — protecting both your roof and your energy system.


